Medical Device Inspection Applications
VisionGauge machine vision systems have been used to solve a wide-variety of medical device inspection applications, including stent inspection, guide wire measurement, medical device assembly verification, catheter inspection, optical character recognition/verification for traceability, x-ray detector inspection, dental drill measurement, verification of medical electronics, and much more. Also, medical manufacturers are rapidly adopting our VisionGauge Digital Optical Comparators for fast and accurate CAD-to-part comparison and manual/automated inspection and measurement with highly-accurate results. Read more about medical device applications solved with these systems.
Medical Device Assembly Verification / Measurement
In the medical industry, accurate assembly of medical components is critical. Our VisionGauge® OnLine systems can help you perform verification on your products during production or post-production.
Our visual inspection systems include the advanced VisionGauge® toolset. All of VisionGauge's® image processing and analysis tools are thus available to automatically process the image before carrying out the inspection.
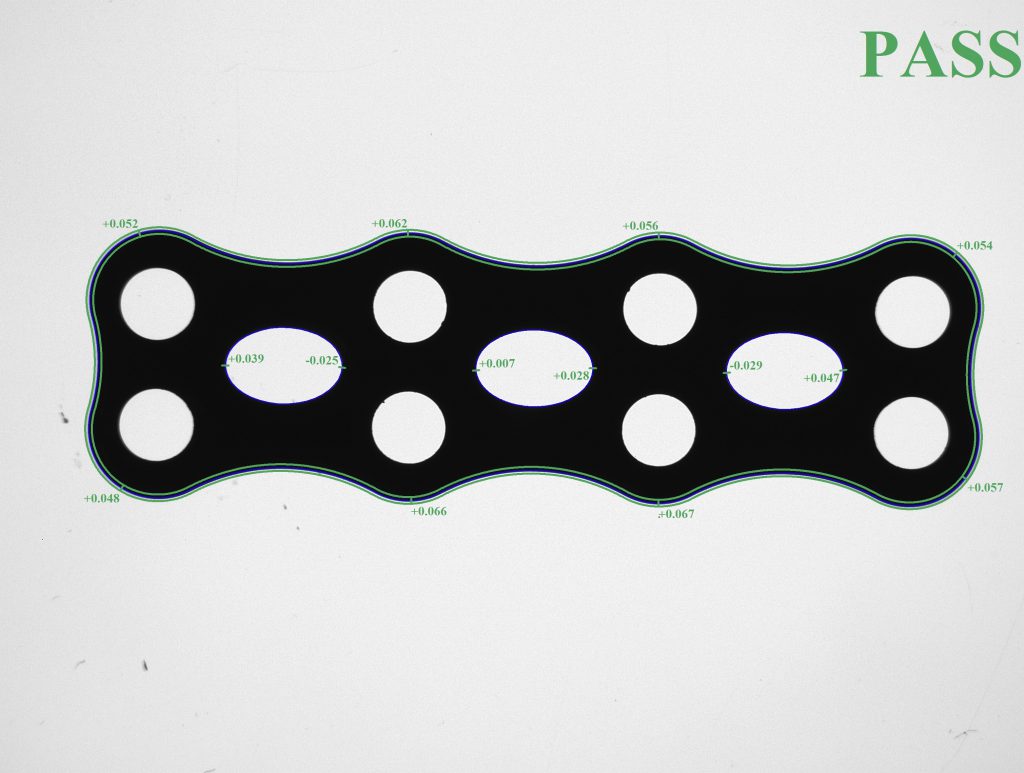 There are many tools embedded with VisionGauge® OnLine to help facilitate medical device measurement and inspection including:
- Automated measurement tools
- Optical character recognition and verification (OCR/OCV)
- Counting and sizing tools
- Barcode reading capabilities
- Presence / absence detection
- Error or flaw detection
- Color verification
- Signal handling
- Image overlay and automated CAD comparison
- and many more...
Our powerful and easy to use software and systems can be programmed to perform assembly verification at different points of the manufacturing process. They can be customized to fit into your production line or as a stand-alone verification station. Furthermore, the entire verification process can be automated so little or no human interaction is necessary.
All data obtained from the inspection can be exported, transferred, or put into a report. Signals can also be sent depending on the results of the inspection based on the tolerances you specify. Whatever your application we can customize a VisionGauge® OnLine visual inspection system that meets your specifications. For further information please contact us.
High-Accuracy Non-Contact Measurement Systems and Software
Stents are tiny, precision-engineered components that are placed inside the human body. They are designed to withstand considerable mechanical and biological forces to prevent their failure while inside the body. With our VisionGauge® OnLine machine vision and inspection software and systems, you can perform high-accuracy inspection and non-contact measurement on stents and other precision manufactured devices. Our systems produce high-quality results in high magnification conditions, can be fully automated, and have a resolution of 0.1 microns.
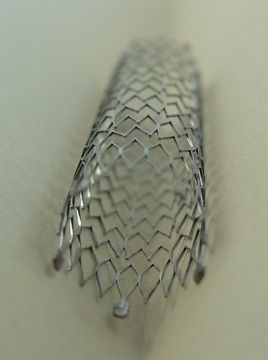 In the medical industry every stent is inspected individually. This can be a hard task to perform, especially if the operator is in the uncomfortable position of working solely with a microscope: All visual inspections with our machine vision systems are performed in front of a computer screen. Furthermore, our easy-to-use software can be fully programmed so no human intervention is needed for the inspection. You can automatically perform many dimensional measurements such as length, inner, outer radius, and more. VisionGauge® OnLine contains color verification and pattern matching algorithms that can also identify defective stents.
Read more about our VisionGauge® Digital Optical Comparators and how they are currently being used to solve critical applications involving stent inspection and measurement.
Our non-contact measurement and inspection systems can be customized to meet your needs with features such as:
- High-precision crossed-roller movement with 0.1-micron encoder feedback
- Interchangeable levels of magnification
- Computer controlled illumination, direct or reflected
- Computer controlled movement in 3-D
- Computer controlled motorized zoom and focus
- Vibration isolation
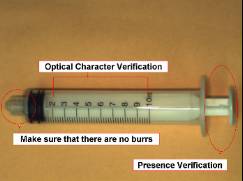
In another medical industry inspection example, VisionGauge® OnLine was recently applied to successfully solve a high-speed syringe manufacturing application. With multiple inspection requirements, the VisionGauge® OnLine single camera system is able to verify that graduation marks are present, accurate, and properly labeled, that the plunger is properly inserted, and that there are no burrs on the coupling where the needle is to be placed. When a bad part is detected, VisionGauge® OnLine automatically sends a signal to remove it and running statistics, indicating the number of bad parts per hour, are automatically updated.
When a defect or flaw is detected, multiple processing paths are possible, including sending signals signal to stop inspection or raise alarms, capturing images of the part to insert into a report, creating statistics and graphs, executing external programs... there are countless possibilities. Contact us to learn more about how VisionGauge® can help you easily complete your stent inspection or other non-contact testing.
Optical Character Recognition (OCR) of Date-Lot Codes on Electronic Components
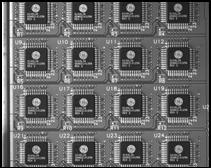
VisionGauge® OnLine software is also being used by manufacturers in the medical device industry to capture date-lot codes - using VisionGauge® OnLine's Optical Character Recognition software tool - as well as board serial number information - available as a barcode. All of this information is captured by VisionGauge® OnLine in a single very high-resolution image and can be automatically saved in a database, or transferred to other programs. The data can then used to cross-reference component and board information throughout the product's life. These systems are designed for high-volume inspection applications, often in manufacturing environments in which VisionGauge® OnLine is being used operates around the clock.
Automated Measurements in an Off-line Sampling of Injection Molded Parts
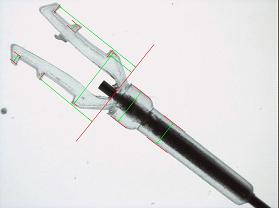
VisionGauge® Online is frequently employed to solve a wide variety of medical device inspection applications, often involving multiple measurement requirements. In one example, an application involves taking a number of different automated measurements in an off-line sampling of injection molded parts. Because the part-to-part position & orientation is variable, VisionGauge® Online first aligns - or "squares up" - the part with a master image. Then numerous measurements are automatically performed on the aligned image using VisionGauge® Online's versatile measurement toolset. All of the measurements are compared to individual tolerances to determine if the part is within specifications. Results of the measurements are also collected and analyzed in VisionGauge Online's Data Groups. Additionally, Data Group values are easily transferred to Microsoft Excel through Dynamic Data Exchange (DDE).
More Information is also available about medical device applications solved with our VisionGauge® Digital Optical Comparators.