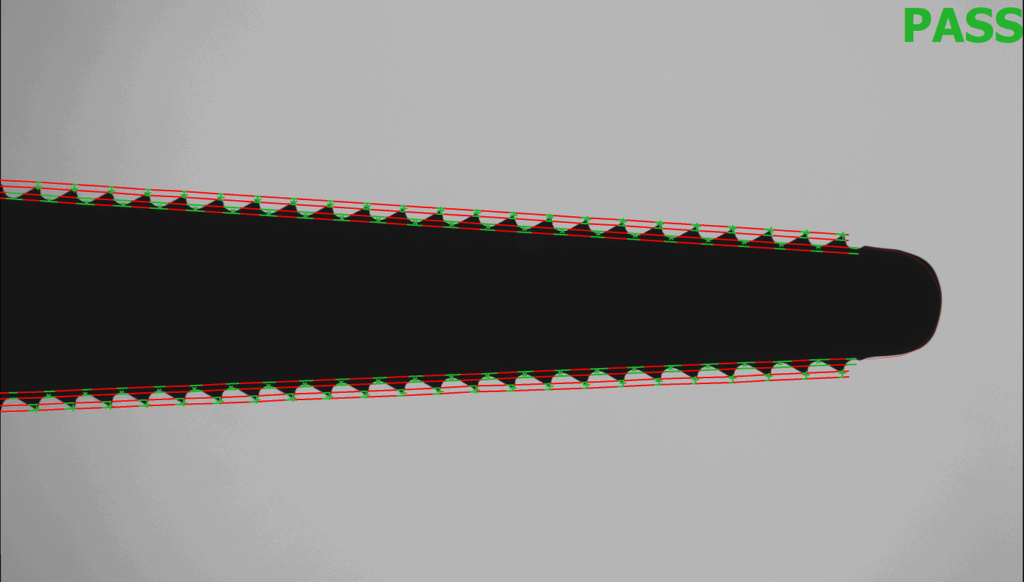
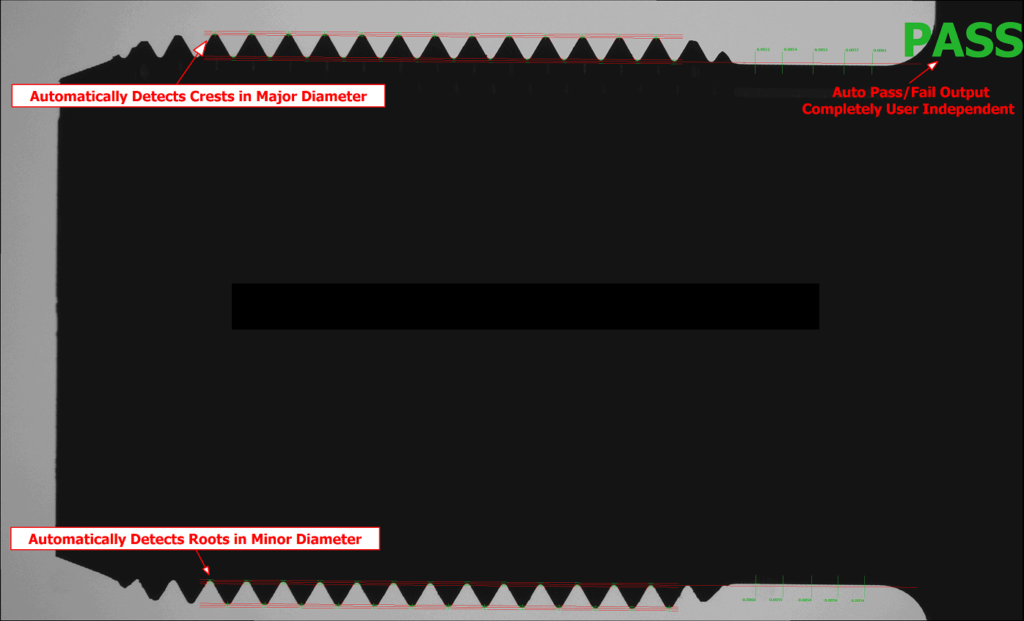
VisionGauge®’s Patented “Tooth Checker™” tool is specially adapted to check parts
with teeth
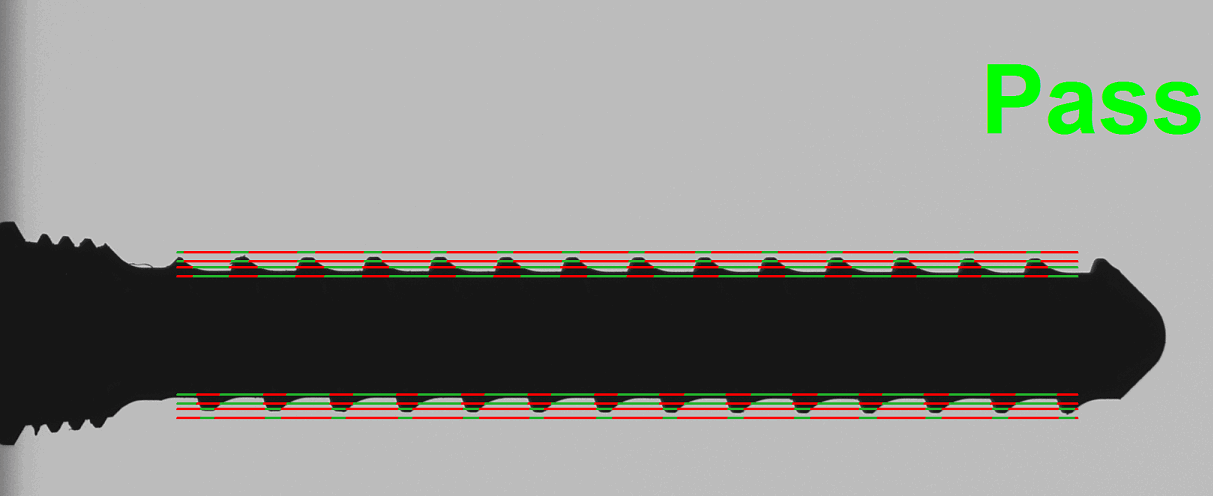
VisionGauge®’s powerful and innovative patented “Tooth Checker™” tool automatically locates, to very high accuracy, the crests and / or roots of a part’s teeth or threads and determines if they are within their tolerance band. It can also determine all other part characteristics, such as tooth pitch, thread depth, major & minor diameters, etc…
- Fully automated
- Completely independent of part orientation & clocking
- With a rotary stage the crest and root points can be used to calculate part runout
- Can also be applied to parts that are larger than the field-of-view
- The tool is usable in both manual and fully-automated modes (i.e. within an automated program)
- The tool produces a PASS / FAIL result (which can be exported and used in all of the same ways as the current PASS / FAIL results) and also shows where the part passes and where it fails
- Supports linearly variable tolerances, plus/minus tolerances, plus/plus tolerances, minus/minus tolerances, etc…
- Smart “Adaptive Thresholding” automatically disregards point imperfections
Perfect for quickly and accurately checking:
- Bone screws
- Medical rasps
- Gears
- Fluted Instruments
- Threads & fittings
- Etc…
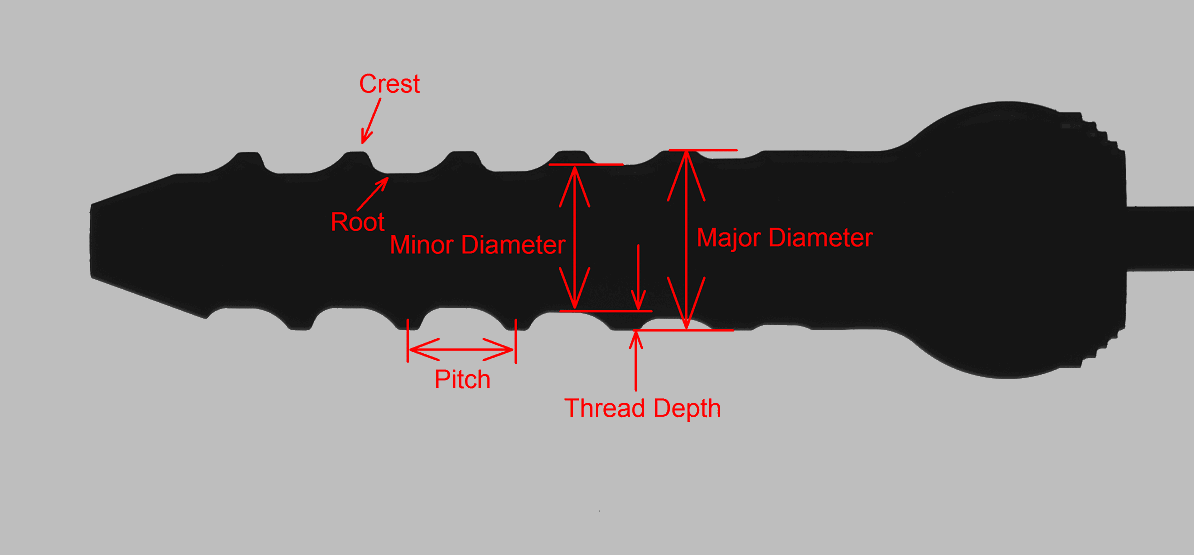
Using the crest & root points that the Tooth Checker tool has found, it can then automatically determine all other part characteristics
Overview Video:
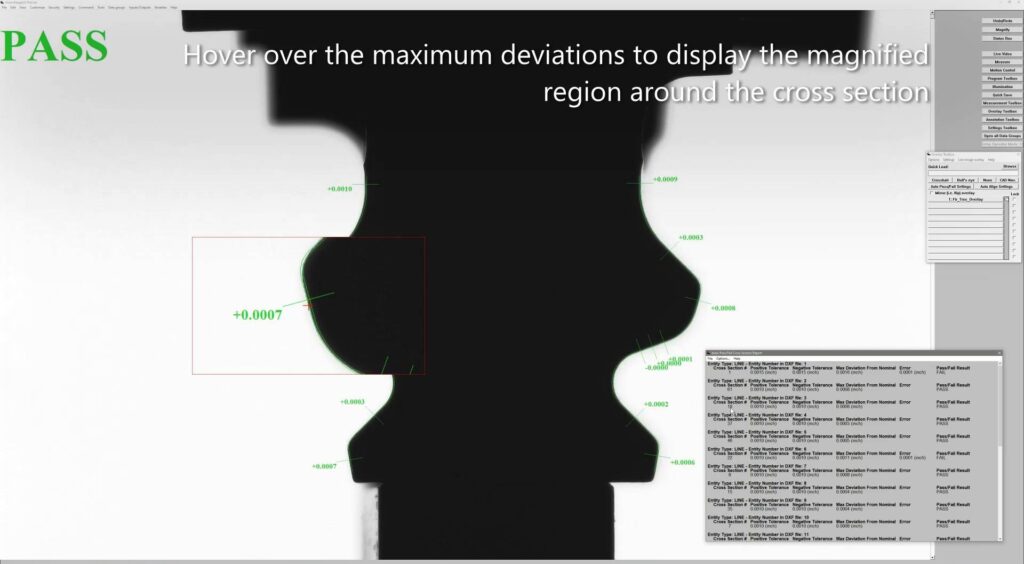
Our new Advanced Analysis and Report tools also allow operators to follow-up a Tooth Checker™ operation to review, explore, and label results at each cross section of interest in the field-of-view.
Download a .pdf version of this VisionGauge® Digital Optical Comparator Application note here.
