VisionGauge® systems will be on display at the Canadian Manufacturing Technology Show (CMTS) September 25th – 28th, 2023 in Toronto, Ontario at Toronto Congress Centre, North.
Category: News/New Developments
News/New Developments
Announcement – May 11, 2022 – New Shop Capabilities
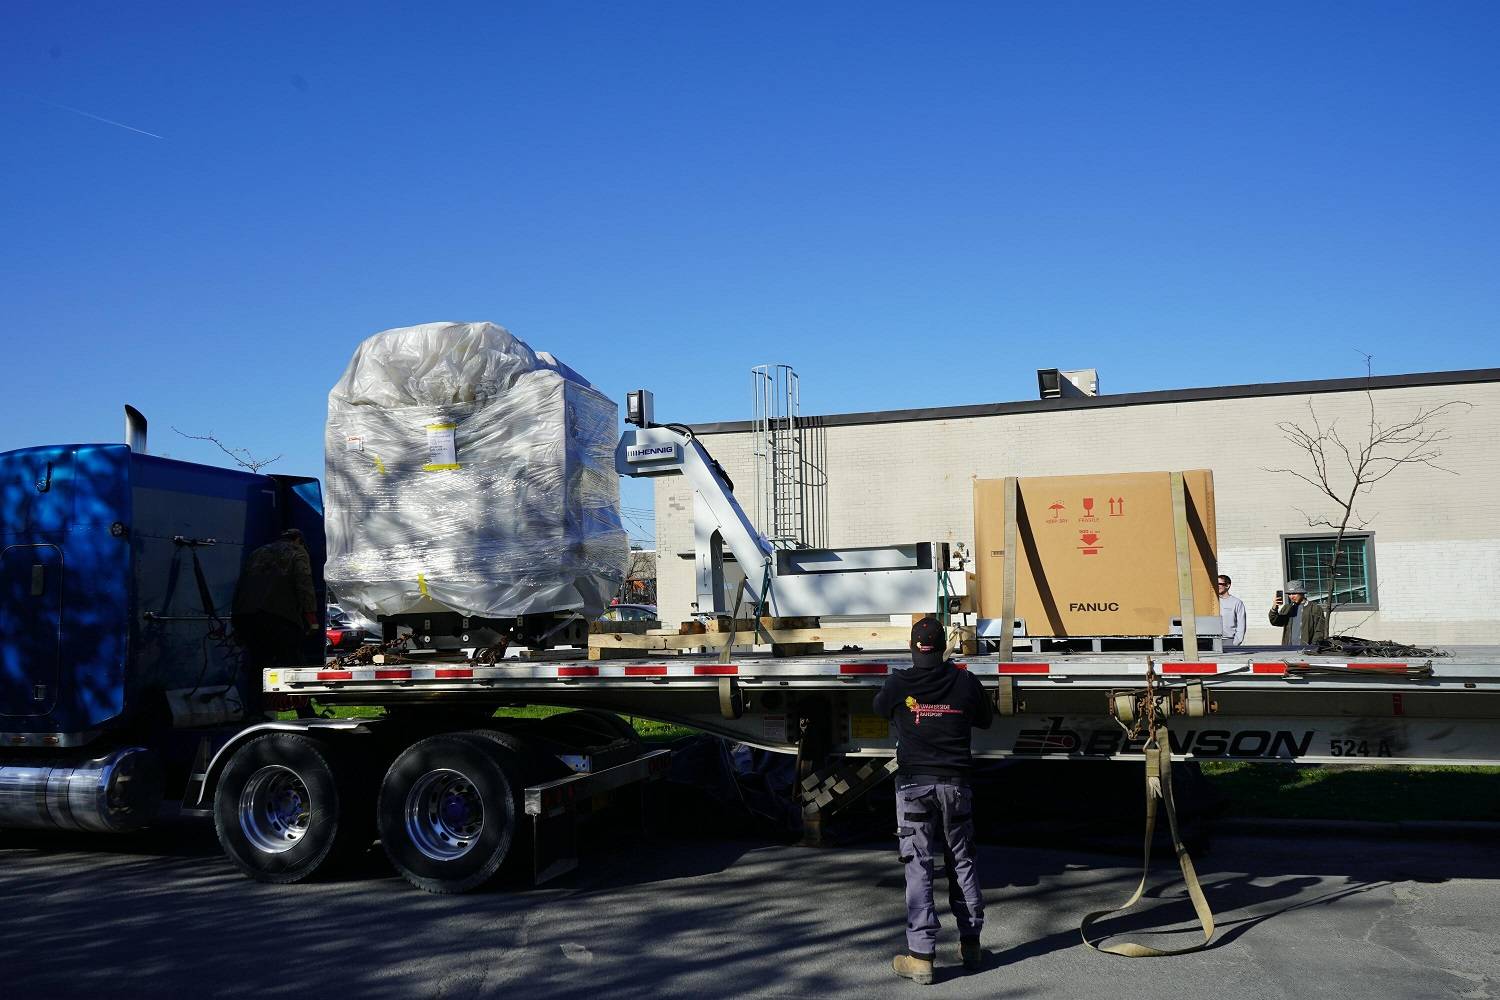
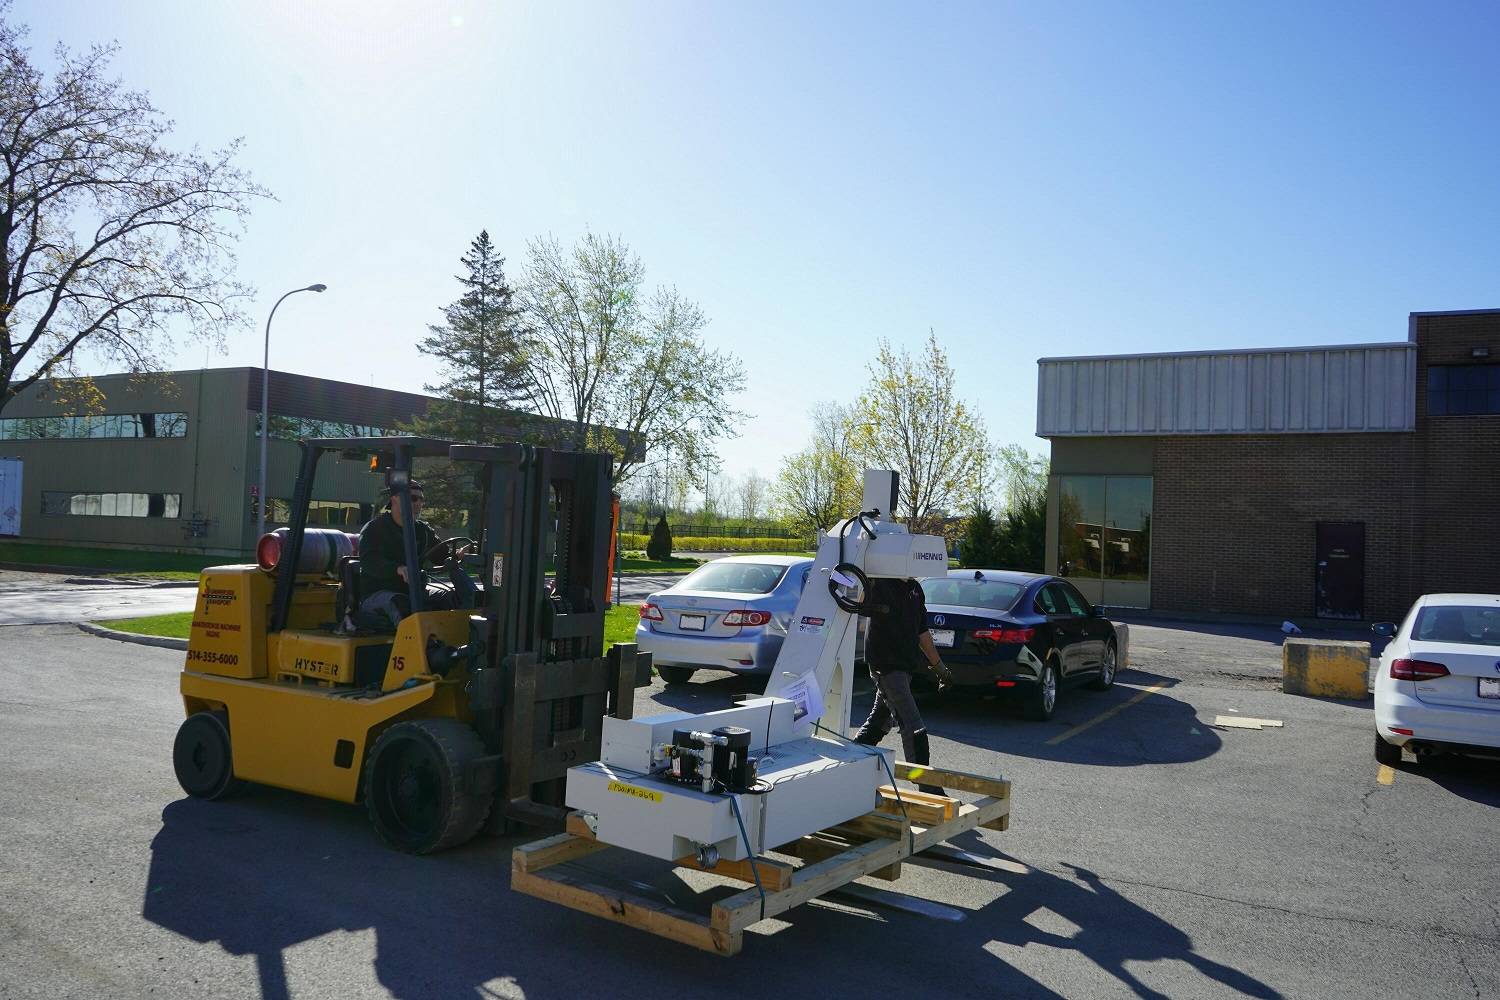
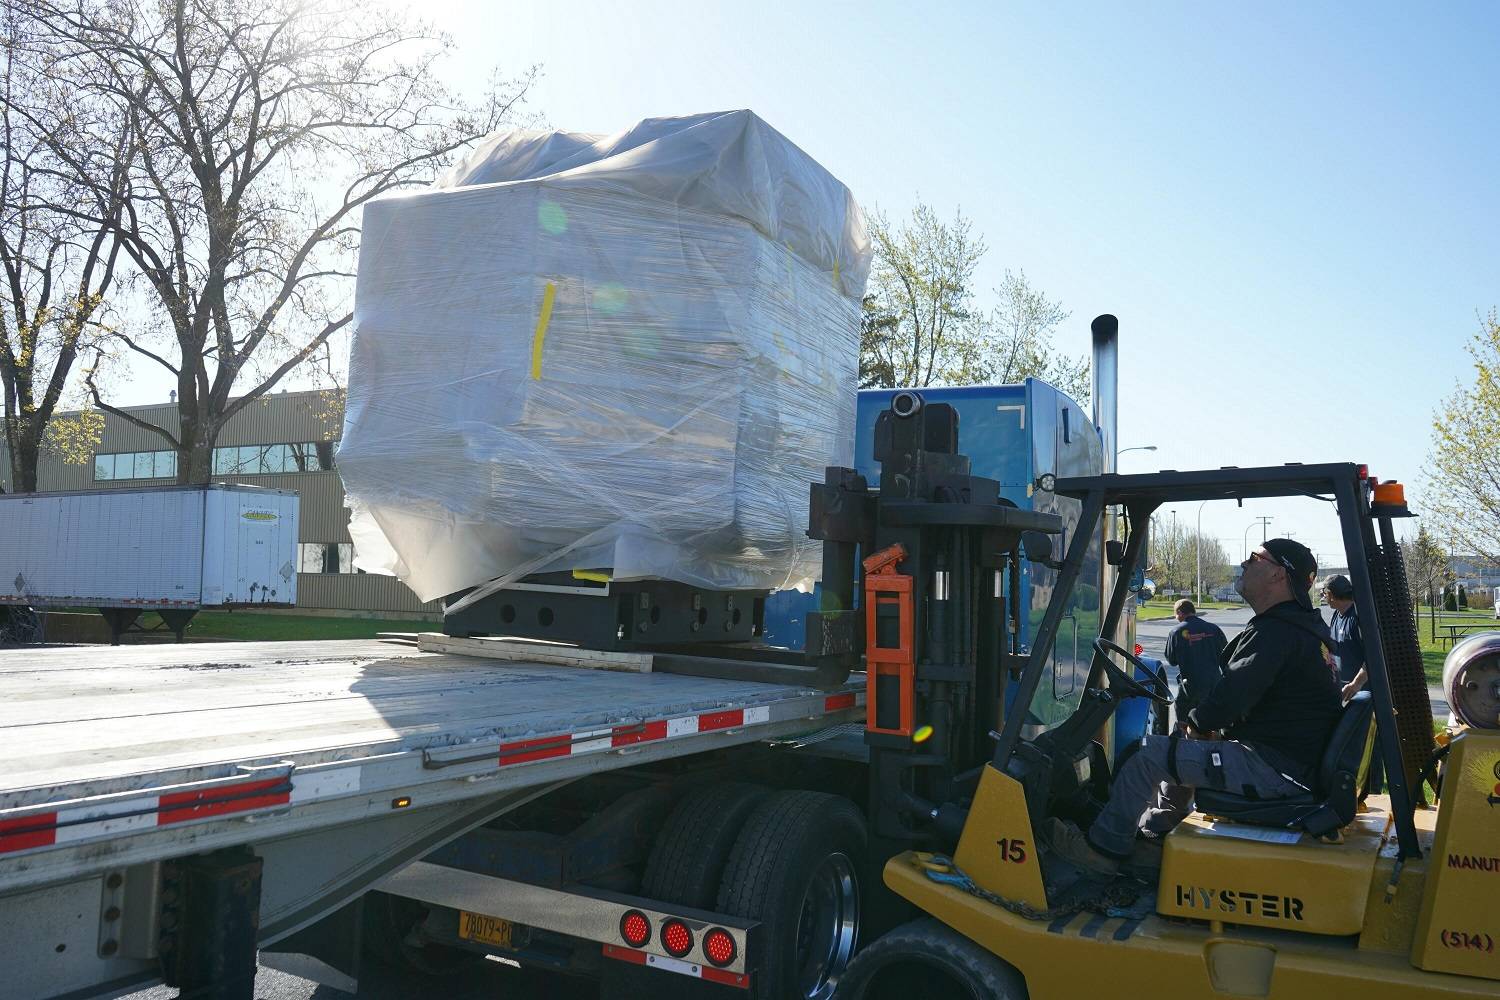
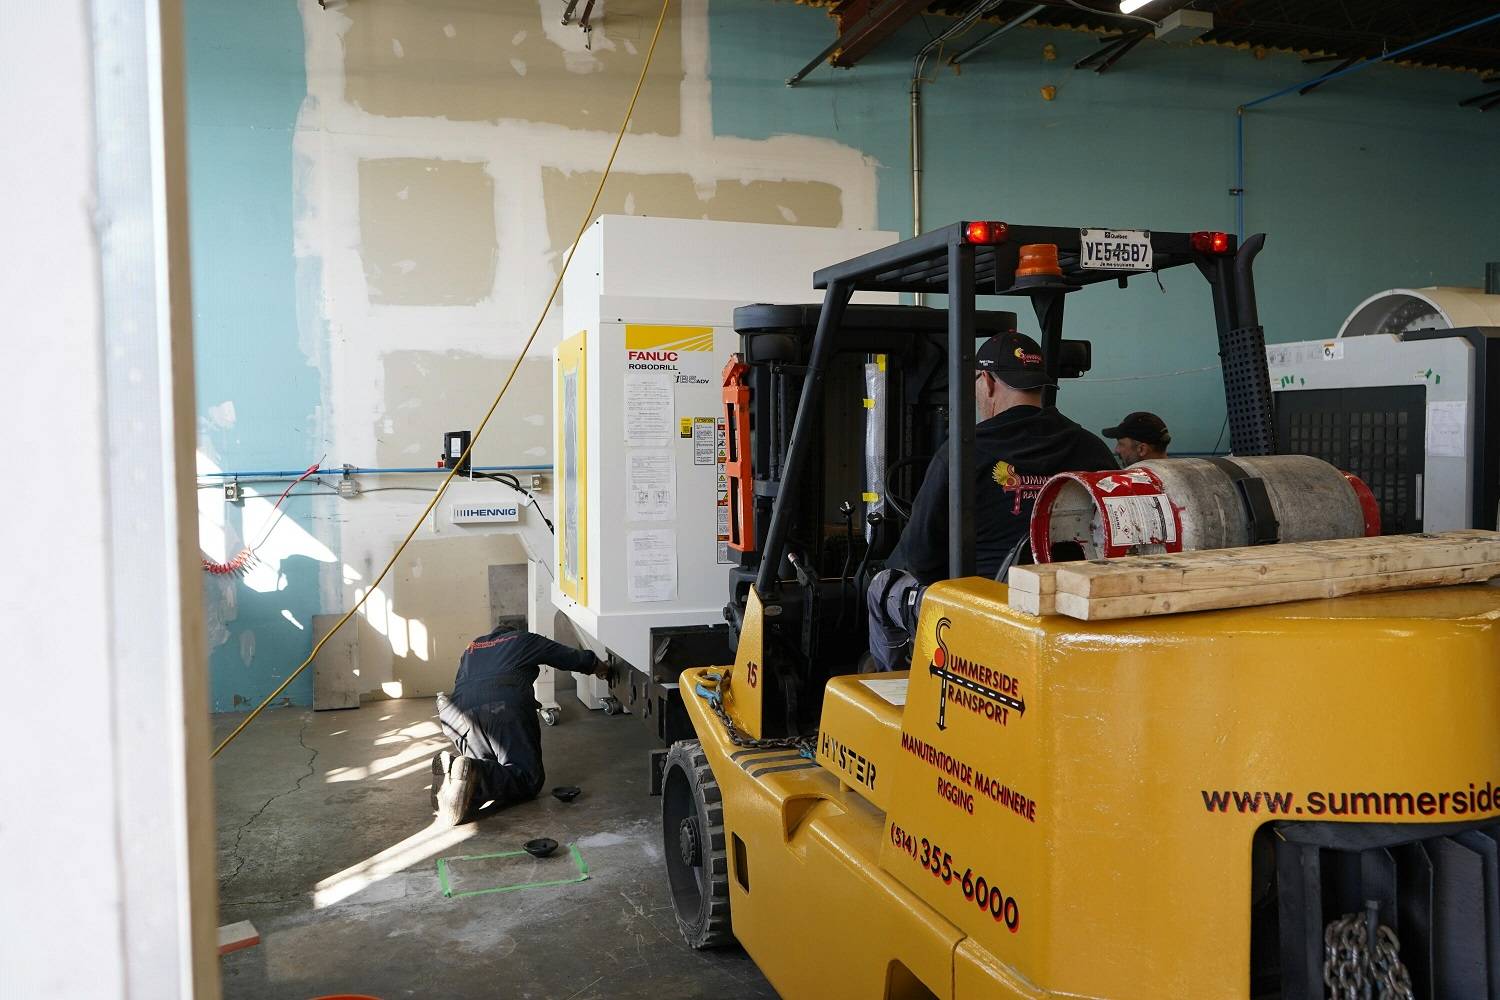
We’ve just received the latest addition to our shop: A Fanuc RoboDrill α-D21MiB5ADV, 10,000 RPM, CNC Vertical Machining Center with a Fanuc 31i-B5 CNC Control and a 4th axis Fanuc DDRT-500 Direct Drive Linear Rotary Table.
This machine also has a bunch of automation-ready options (e.g. Hennig Hinge Belt Conveyor, Auto Door, Tool Probe, Bed Flush, Fixture Flush, Spindle Air Blow, etc…). This will allow us to add a robot to this machining cell, for automatic loading & unloading.
We’re excited about all of the extra capabilities that this new machine will give us. We’ll use it to produce parts that go into our VisionGauge® inspection and measurement systems, to help support the increasing popularity of VisionGauge® systems.
Thanks very much to our terrific partners at Methods Machine Tools for their help making this happen!
New VisionGauge® software training videos
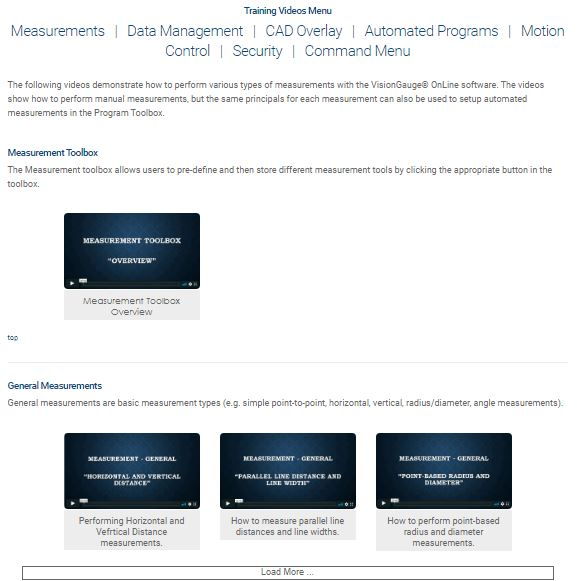
We’re pleased to announce the new “Training Videos” section of our web site. It contains an extensive set of videos that present the features and tools available in the VisionGauge® OnLine Software. These tutorial videos go in depth through the steps that allow you to perform a great many operations in the software.
The videos are nicely organised in clear categories and sub-categories, to allow you to quickly and easily find the information you’re looking for.
These videos can be found under the “Support” menu of our web site and are available to our current software users and resellers. Complete the registration form with your company name and your account will be verified and activated, following which you can view this section of the site.
Announcing the Super-Extended Travel Configuration 500 Series VisionGauge® Digital Optical Comparator
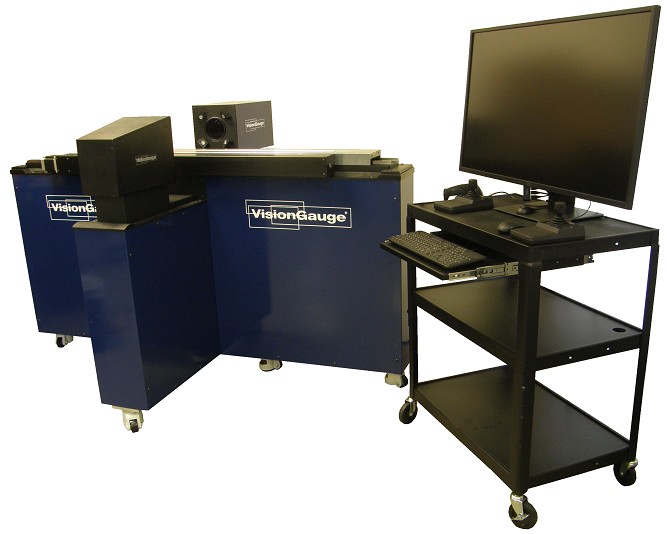
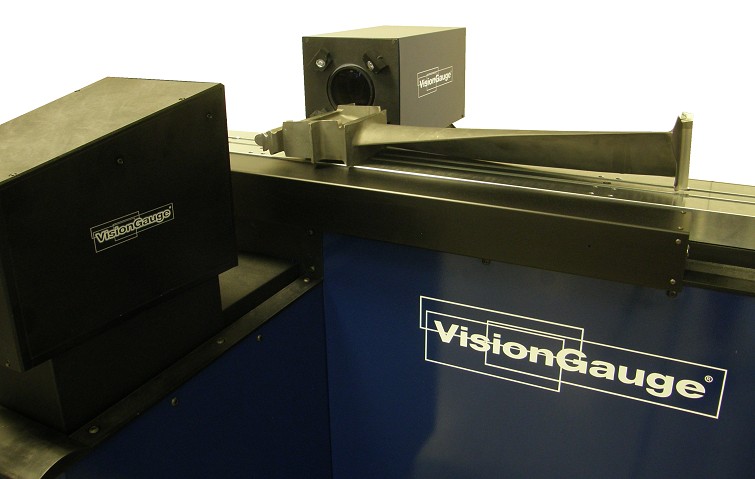
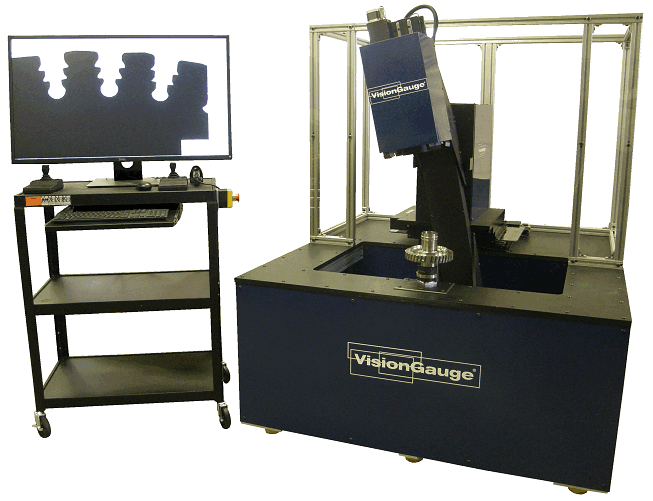
The new VisionGauge® Digital Optical Comparator 500 Series Super-Extended-Travel Configuration is designed to inspect large and heavy parts while still delivering performance, reliability, and high-accuracy measurements. These systems have up to 60” of travel and support loads of up to 300 lbs!
This innovative configuration is designed to provide optimal rigidity and eliminate any mechanical deflections. Everything is optimized to allow the system to produce very accurate measurements of long and heavy parts.
The Super-Extended Travel Configuration is powerful and widely-applicable. In particular, the Industrial Gas Turbine (IGT) / Power Generation industry greatly benefits from the use of this system for inspection of fir trees / root forms on buckets.
Download the data sheet, visit the product page, and contact us for more information.
New video available: Benefits of using the VisionGauge® Digital Optical Comparator in the Cutting Tools industry
A new video has been uploaded to our site detailing the benefits of using the VisionGauge® Digital Optical Comparator in the Cutting Tools industry.
Covid-19 Update – Temporary Suspension of all Business Travel (Extended)
COVID-19 update from VISIONx
Introducing VisionGauge®’s Patented “Tooth Checker™” tool
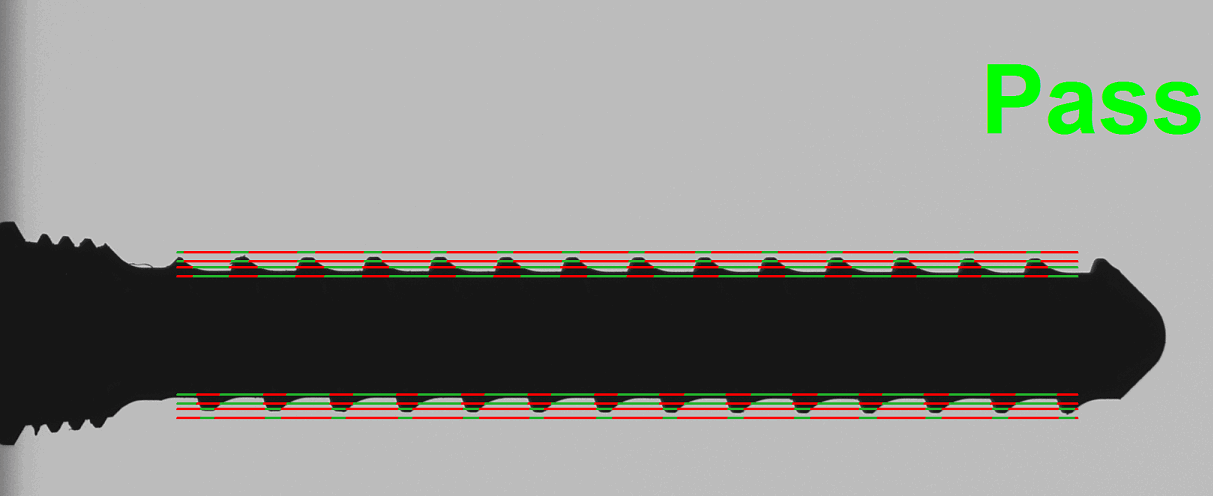
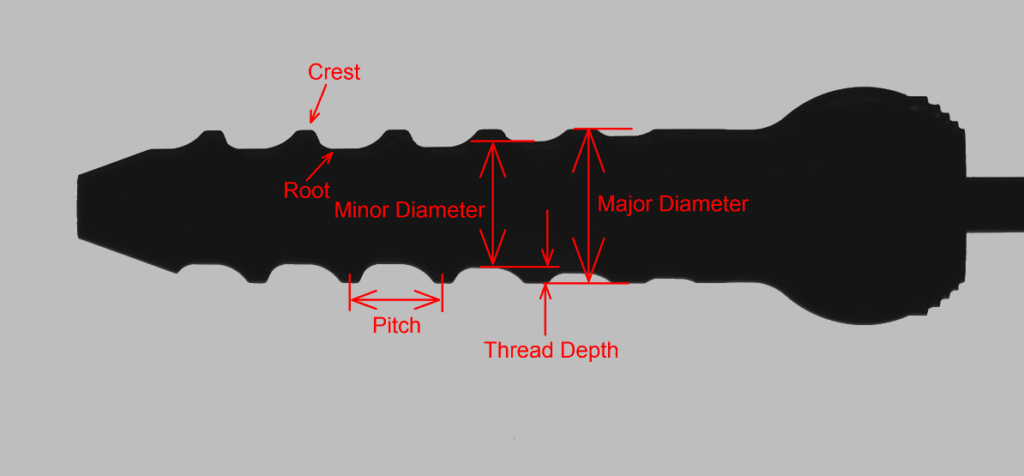
We’re happy to introduce VisionGauge®’s patented “Tooth Checker™” tool, specially adapted to check parts with teeth. This innovative new tool automatically locates, to very high accuracy, the crests and / or roots of the teeth and determines if they are within their tolerance band. It can also determine all other part characteristics, such as tooth pitch, thread depth, major & minor diameters, etc…
The Tooth Checker tool can verify that either crests, roots, or both, are in tolerance, using these crest & root points that the Tooth Checker tool has found, it can then automatically determine all other part characteristics:
This powerful new tool is perfect for quickly and accurately checking:
- bone screws,
- medical rasps,
- gears,
- fluted instruments,
- threads & fittings,
- and much more!
Click to view more information about the VisionGauge® Tooth Checker™, or download the application note.
Announcing the VisionGauge® Disk Inspection and Measurement System
The VisionGauge® Disk Inspection & Measurement System is the the ideal solution for automated, high-accuracy inspection & measurement of slots in turbine disks, both large & small. The system’s patented CAD Auto-Align™ & CAD Auto-Pass/Fail™ tools allow you to automatically check the slot profile, get deviations from nominal, etc…
Download the data sheet and contact us for more information.
New 5X configuration for 300-Series VisionGauge® Digital Optical Comparator
We’re pleased to announce the new 5X configuration of our 300 Series VisionGauge® Digital Optical
Comparator.
The 300 Series VisionGauge® Digital Optical Comparators are extremely cost effective Field-of-View
Systems that are ideal to inspect and measure smaller parts, very quickly. And the new 5X
configuration provides a wider field-of-view and a larger depth-of-field that extends the range of parts
that can be checked using the 300 series. Specifically, the new 5X 300 Series machine can
accommodate parts up to 6.4” (diagonal, i.e. 5.5” horizontal x 3.3” vertical) and up to 4” in height. The
new 5X 300 Series VisionGauge® also has a very long working distance that provides 15” of
clearance between the part and the lens.
Like all of the other 300 Series machines, it has very high-resolution optics that produce a very
geometrically accurate image and it also includes three independent light sources that are all LED based
and computer-controlled: transmitted (i.e. back) illumination as well as both on- and off-axis
reflected (i.e. front) illumination. This allows the system to produce crisp, sharp edges and perform
beautifully even when working with hard-to-image materials (for example: shiny, reflective or even
translucent surfaces) and difficult geometries (such as deep holes).
The VisionGauge® 300 Series machines produce a stunning super-high resolution image to carry out
fine, detailed inspections. And the system’s crisp & clear image is displayed on a single super-high resolution
monitor.
The 300 Series include all of the powerful VisionGauge® tools, including our patented CAD Auto-
Align™ and CAD Auto-Pass/Fail™ tools, for very fast automatic and operator-independent
comparison of parts to their CAD file, as well as VisionGauge’s® broad measurement toolset.
And because they are field-of-view machines and no motion is involved, the 300 Series
VisionGauge® systems are extremely fast. They can carry out hundreds of inspections and
measurements seconds after you’ve put the part down on the system. They can also accommodate
multiple parts at once.
All 300 Series systems have an intuitive software interface and are extremely easy to use. They can
be setup to be operated using the system’s barcode reader and joystick. They have built-in SPC
capability with charting & graphing and can automatically collect images and data. They also have
extensive data exchange capabilities.
The 300 Series VisionGauge® systems have a convenient desktop configuration, no moving parts
and no consumable parts. They provide many years of reliable service with minimal maintenance.
They are perfect for both the shop environment and the quality control lab. They are complete, ready-to-
run Windows-based solutions that are delivered network-ready and include on-site installation,
NIST-traceable calibration & training.
This information is available for download in .pdf format: 5X 300 Series VisionGauge Digital Optical Comparator Machine Announcement