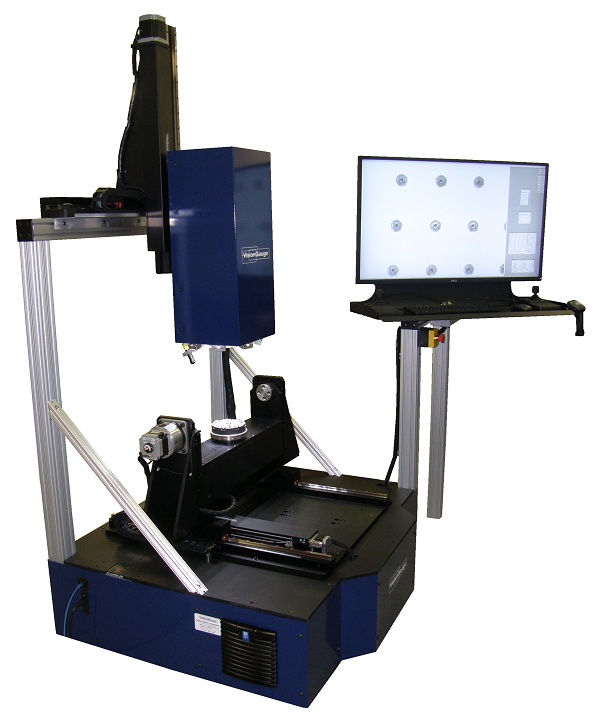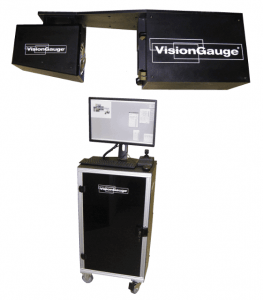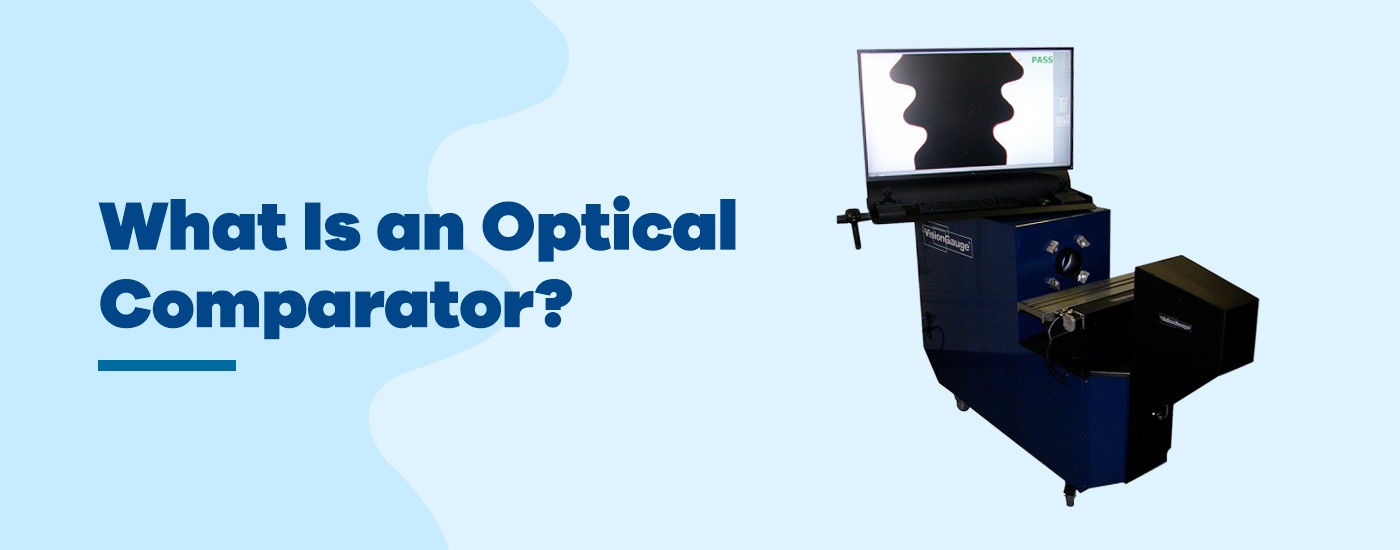
The VisionGauge® Standalone Inspection & Measurement System is the perfect drop-in solution for automated cells and automation applications requiring high-accuracy inspection. The system is widely-applicable and extremely general-purpose. All of VisionGauge®’s advanced inspection and measurement capabilities are available, including our CAD Auto-Align™ and CAD Auto-Pass/Fail™ tools.
The system includes a high-resolution optics with a large depth-of-field and a long working distance. It can be mounted in any orientation.

VisionGauge® OnLine’s Remote Program Communications feature is also included, making it easy to interface with a robot or other part-positioning equipment. The software possesses extensive communication capabilities (e.g. TCP/IP communication via Ethernet, digital I/O’s, etc…) to issue commands, load programs, retrieve results, process errors and messages, etc.
Download the data sheet and contact us for more information.


